


The first time I went camping was at the summit of Pic d’Arriel in the Pyrenees on a beautiful summer night. After a rather grueling day of hiking, I was looking forward to a wonderful, restful night under the stars. Unfortunately, I learned the hard way that you can’t just wing a backcountry overnight stay. Luckily, I didn’t encounter extreme weather conditions, but my lack of gear and a simple cool breeze in the middle of the night quickly forced me to rethink my idealized vision of backcountry camping. In the mountains, a localized thunderstorm can often catch even the most seasoned mountaineers off guard, turning a dream into a nightmare.
My problems that night were much less severe, but they were enough to keep me up all night. The ground was slightly sloped, my old sleeping bag wasn’t suited for the temperatures, and it didn’t seal properly around my neck. I was very cold, even after pulling out my emergency blanket in the middle of the night. It kept blowing away because of the wind and my movements. The night was long—very, very long. Nothing dramatic, but enough little details to make me realize that better preparation and better gear would be essential if I were to try this again.
Over time, my gear has changed. Some items have disappeared from my pack. Others have become staples. Above all, I’ve come to understand that a good night in a bivouac never depends on a single piece of gear.
It’s the result of a series of choices: the route, the weather, the campsite, how you pack your backpack, your sleeping gear, the clothes you keep on for the night, and being prepared for any eventuality. And above all, always go with someone else.
In this guide, I share a series of best practices. They’ll never replace your own experience, but they can help you avoid the mistakes I made as a beginner and help you fully enjoy your first nights out in the wild.
Guillaume Arbel, Founder of Maison de la soie and mountain enthusiast
Table of Contents
A good night’s sleep begins well before sunset
When preparing for your first camping trip, it’s easy to spend hours comparing tents, sleeping bags, sleeping pads, and camp stoves. Gear is reassuring—it has a weight, dimensions, comfort temperature, and features that you can compare.
However, the most pleasant nights aren’t always the ones where you have the most expensive or high-tech gear. They’re often the result of good preparation that takes many other factors into account.
An excellent sleeping bag won’t make up for a campsite exposed to the wind. A very comfortable sleeping pad won’t help if your clothes are damp when you go to bed. Conversely, a few simple decisions can turn an ordinary night into a truly restorative one.
So before you pack your bag, take the time to look at your entire itinerary. At what elevation do you plan to sleep? What temperatures are forecast for the night? Is there a water source nearby? Is the terrain actually suitable for pitching a tent? Is camping permitted in this area?
These questions may seem less exciting than choosing new gear. Yet they’re just as important.
For your first overnight hike, it’s best not to go alone
If I had to give just one piece of advice to someone preparing for their first night outdoors, I wouldn’t talk to them about sleeping bags or tents.
I’d advise them to go with someone else.
The mountains are a great place to learn, but it’s always better to learn from others’ experiences rather than from mistakes that can sometimes have serious consequences.
When you’re with one or more people, you also share your doubts. Should we keep going to the next pass or stop here? Is the wind likely to pick up? Do we have enough water for tonight and tomorrow morning? These discussions help you make better decisions.
Safety is also important. A sprained ankle, a wrong turn, deteriorating weather, or simply feeling tired don’t have the same consequences when you’re alone.
For your first time, choose someone who’s already experienced with camping or join a group of hikers who are used to sleeping outdoors. Specialized apps, such as Ossau.app, now make it easier for hiking and mountain enthusiasts to connect. With over 6,000 users currently, this app is the go-to resource for finding hiking partners.
You don’t have to set out on a grand adventure. A hike lasting a few hours, followed by a night in an accessible setting, is more than enough to learn the ropes. The goal isn’t to push yourself to the limit, but to discover how you react, what gear works for you, and what your needs are.
My first bivouacs would certainly have been more complicated if I’d done them alone. The advice shared around a camp stove or while setting up a tent often sticks in your memory much longer than what you read before setting out.
Choose Your Campsite Before Setting Up the Tent
When you’re just starting out, your first instinct is often to look for the most beautiful view.
That’s understandable. A sunset over a valley or a mountain peak immediately gives you the feeling that you’ve found the perfect spot. However, the most photogenic spots are often also the most exposed to the wind.
You also need to pay attention to the terrain.
A barely noticeable slope can be enough to cause your sleeping pad and sleeping bag to slide around all night. A small hollow, which is pleasant when the ground is dry, can trap water in the event of a downpour. An open ridge sometimes offers a magnificent view, but provides little protection when the wind picks up.
I look for a surface that’s as level as possible. I observe the wind direction and any features that might provide natural shelter. I also check what’s above me: fragile branches, unstable rock faces, or terrain prone to rockfalls.
These checks take only a few minutes. Yet they help avoid genuinely risky situations.
The ground also deserves some attention. Protruding rocks, roots, or prickly plants can damage your sleeping pad and make for an uncomfortable night. There’s no need to completely reshape the site. Just remove small, loose items that might get in the way, without damaging the vegetation or permanently altering the terrain.
Finally, think about the next morning. A spot that feels pleasant at 8:00 p.m. can become cold, damp, or very exposed in the early hours of the day. When I’m torn between two spots, I now choose the one that will feel the most welcoming when I wake up—not necessarily the one that offers the most beautiful sunset photo.
Sleeping in nature remains a privilege
Camping offers a sense of freedom that’s hard to find elsewhere. Spending the night far from roads, watching the light fade over the hills, and then waking up in the middle of the night in absolute silence are among those simple experiences that stay with you for a long time.
This freedom does, however, come with a few rules.
In France, regulations vary depending on the municipality, nature reserves, national parks, and private properties you’re crossing. Some areas allow camping from evening until morning, sometimes during specific hours. Others prohibit it entirely or require you to use designated sites.
Before each trip, check the applicable rules with the official sources for the area in question. A practice permitted in one valley may be prohibited just a few kilometers away. Also, don’t confuse camping with wild camping: the former generally involves a simple setup for a single night, while the latter involves a longer stay and more equipment.
Beyond the regulations, a simple rule guides most experienced hikers: leave the site exactly as you found it.
This means taking all your trash with you, including the smallest pieces. Tissues, food scraps, and biodegradable paper have no place in the wilderness. Fires must be avoided when prohibited, but also whenever the ground, vegetation, or weather conditions make them dangerous.
Water used for personal hygiene or washing dishes must be kept away from streams and lakes. Products—even those marketed as natural—must not be poured directly into bodies of water. As for wild animals, they should be observed from a distance. Avoid leaving sausage for the bearded vulture.
When you leave a campsite in the morning, it must be left spotless.
No paper.
No leftovers.
No traces of a fire.
No vegetation trampled unnecessarily.
I know what you’re thinking. What about number two? Ideally, you leave nothing behind by bringing a bag designed for that purpose! But if you really have no choice, you must keep a safe distance from waterways and bury this kind of waste to avoid contaminating our animal friends—and even our fellow humans, many of whom don’t realize that drinking water from a stream isn’t necessarily a good idea.
Sleeping Well While Bivouacking: Think of Your Sleeping Gear as a Complete System
We tend to think that the sleeping bag is the most important thing, but we mustn’t neglect everything else.
Cold can come from the ground. Moisture can come from your clothes. A poorly adjusted zipper can let in a draft. Each of these details may seem trivial. In the middle of the night, however, they end up weighing heavily on you.
The goal isn’t to recreate the comfort of a bedroom, but to allow your body to recover properly so you can enjoy the next day.
The Mattress: Your First Line of Defense Against the Cold
There’s a lot of talk about the comfort temperature of sleeping bags. We tend to pay less attention to the mattress.
Yet it is the mattress that insulates us from the dampness and cold of the floor.
When you lie down in a sleeping bag, your body weight compresses the filling beneath your back, hips, and legs. This part of the sleeping bag then traps much less air and loses a significant portion of its insulating power. Without a suitable mattress, body heat gradually escapes toward the ground.
This sensation can be surprising. The upper body seems adequately protected, while a diffuse chill creeps up your back. You try to find a better position, roll over, and eventually realize that the problem isn’t the sleeping bag.
The choice of sleeping pad depends on the season, altitude, and expected temperature. Its thermal resistance, indicated by the R-value, allows you to compare its level of insulation. The higher this value, the more the sleeping pad limits heat exchange with the ground.
You should also consider your body type and sleeping position. Someone who sleeps on their side will have different needs than a hiker used to sleeping on their back. The thickness, width, and stability of the sleeping pad directly affect comfort for the shoulders and pelvis.
I always recommend testing your gear before a multi-day hike. Spending a night in the living room or backyard is enough to check whether the mattress is wide enough, if it makes too much noise when you move, or if you touch the ground when sleeping on your side.
When hiking, it’s important to minimize the weight of each piece of gear as much as possible. Fortunately, there are now some excellent inflatable mattresses that are comfortable, compact, and lightweight. This is a real advantage, even if prices can be a bit high for branded technical mattresses. In my opinion, you definitely shouldn’t skimp on this extremely important piece of gear.
Choose Your Sleeping Bag Based on Actual Conditions
The sleeping bag remains a central part of your sleeping setup. However, it’s important to understand the temperature ratings provided by manufacturers.
The comfort temperature is the level at which a person considered sensitive to the cold can sleep in a relaxed position. The limit temperature indicates a less comfortable situation, in which you often have to curl up to stay warm. The extreme temperature is a matter of survival and should never be used as a reference when preparing for a normal night’s sleep.
When choosing my sleeping bag, I therefore prioritize the comfort temperature. I also allow for a safety margin, since the perception of cold varies greatly from person to person.
Fatigue, humidity, wind, diet, or a day spent walking in the rain can alter how the body reacts at night. Two people lying side by side with the same gear will not necessarily feel the same temperature.
The shape of the sleeping bag also matters. A model that’s too large traps more air that needs to be warmed. A sleeping bag that’s too narrow compresses the filling and restricts movement. The hood and collar must close properly without letting drafts get in around the neck.
That’s exactly what I was missing during my first night at Pic d’Ariel. My old sleeping bag wasn’t just insufficiently warm—it let air in around my neck. Every movement created a new sensation of cold, even though the sleeping bag was reasonably thick.
Don’t wait until you’re cold to cover up
When camping, the cold rarely sets in all at once. It creeps up slowly, often when you’re standing still preparing a meal or watching the last rays of light.
You tell yourself you’ll put on your jacket in a few minutes.
Then your shoulders start to tense up, your hands get cold, and your body has to expend more energy to maintain its temperature. When you finally get into the sleeping bag, it can sometimes take a long time before you feel comfortable again.
With experience, I’ve gotten into the habit of covering up before I feel the cold.
As soon as the sun goes down or my activity slows down, I put on a dry layer. I save a clean outfit for the night whenever possible. After several hours of hiking, this change brings as much physical comfort as it does mental comfort. The day is coming to an end. The body realizes it can finally relax.
It’s best to avoid piling on clothes that are too thick inside the sleeping bag. Tight layers can restrict blood circulation and compress the insulation. Several thin, dry, and breathable layers generally work very well, especially with natural materials like merino wool or silk.
The goal isn’t to bundle up so tightly that you can’t move. It’s about retaining the body’s heat without creating excessive moisture.
The travel sheet: Much More Than Just a Matter of Hygiene
This accessory, which may seem optional, is indispensable to me.
When you’re trying to reduce the weight of your backpack, anything that doesn’t seem absolutely necessary ends up being called into question. A few dozen grams quickly seem superfluous.
As the manager of Maison de la soie, I’ve long been familiar with the properties of silk. I’m therefore well-positioned to know that its benefits go far beyond the issue of hygiene.
A travel sheet limits direct contact between your skin and the inside of the sleeping bag. It absorbs some of the sweat, traps traces of sunscreen or dust, and helps keep the sleeping bag clean longer.
This is far from a trivial matter. A down sleeping bag should be washed with care and as infrequently as possible. Protecting its filling helps preserve its loft and performance season after season.
The travel sheet also improves the feel against the skin. After a day of hiking, when your legs are tired and sometimes still covered in dust, this lightweight layer creates a more comfortable sleeping environment than direct contact with synthetic fabric. It moves with you without feeling sticky or charged with static electricity. Plus, it regulates temperature better than any other textile fiber.
It doesn’t add multiple seasons of warmth to a sleeping bag and never replaces proper gear. Its role is more subtle: to enhance comfort, protect the sleeping bag, and provide a light layer of comfort that improves sleep without adding bulk to your backpack.
Having long been convinced of this product’s value, I recently launched my own brand of travel sheets. So for my trips, I now use the Silk Peak silk travel sheet, which I designed myself down to the smallest detail to meet my practical needs. I was looking for a model compact enough for backpacking trips, yet comfortable enough that its weight remained reasonable. It also had to be easy to get into, and the bag had to be easy to close with a Velcro strap. If you want something done right, you have to do it yourself.


Make a Pillow Out of What You’re Already Carrying
A pillow is rarely considered a priority when packing a hiking bag.
You might think you can sleep on a folded jacket or the bag containing your clothes. This solution sometimes works. It can also easily turn into a compact ball that slips out from under your neck in the middle of the night.
I’ve tried several inflatable pillows. Some were very lightweight, others were fairly comfortable, but I never really liked the feel of them or the noise they made at the slightest movement.
Now I use a much simpler method.
I put my down jacket, fleece, or a few pieces of clothing into a pillowcase. All I have to do is adjust the amount of fabric depending on the desired height. The whole thing conforms better to the shape of my head and lets me use clothes I already have in my backpack.
The zipper is particularly useful here. It keeps the contents inside and prevents me from having to fish my down jacket out from the bottom of the tent after rolling over during the night.
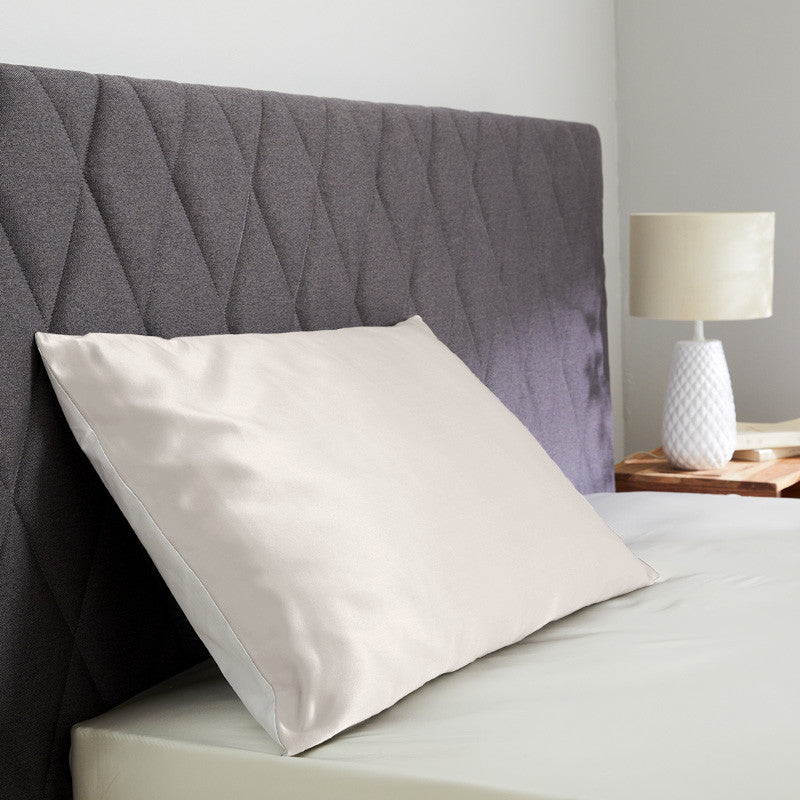
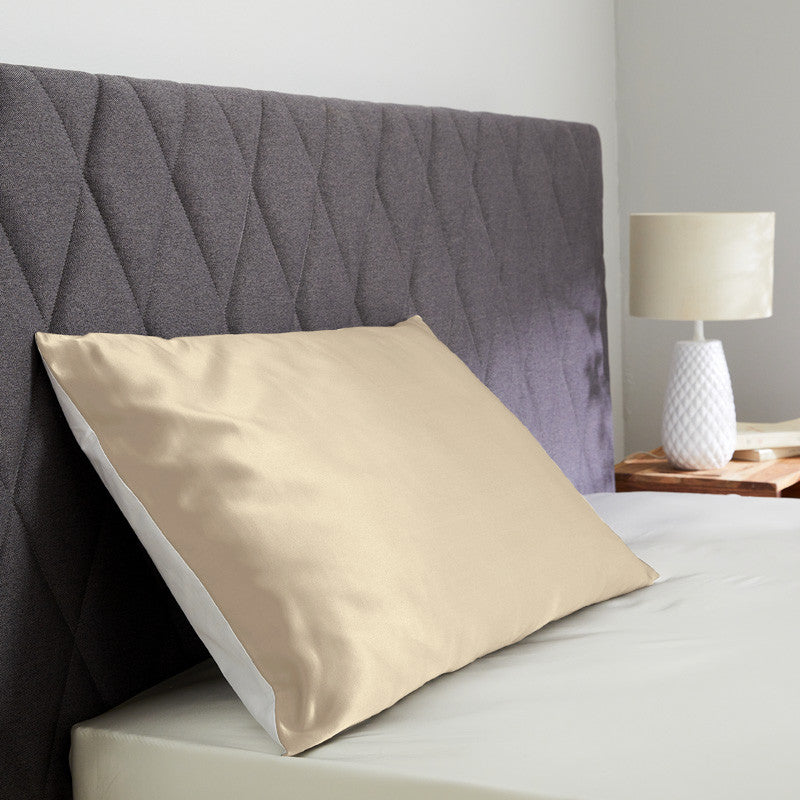
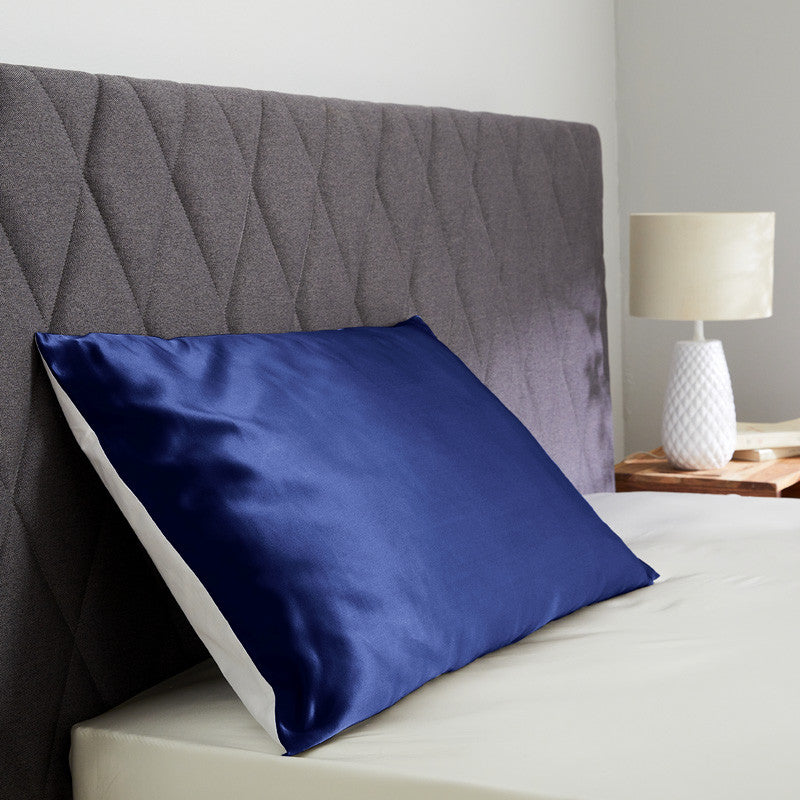
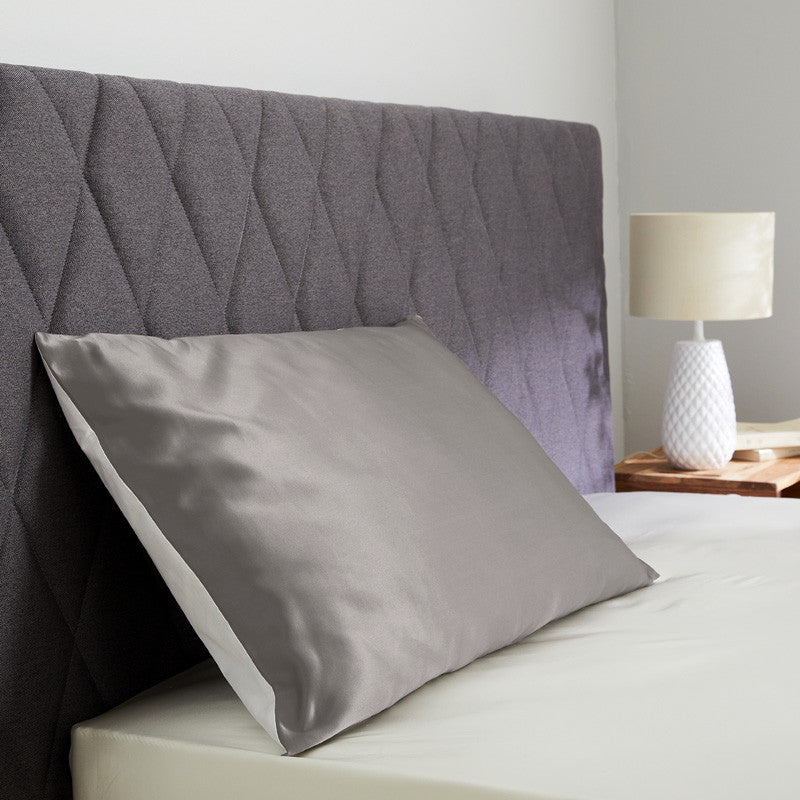
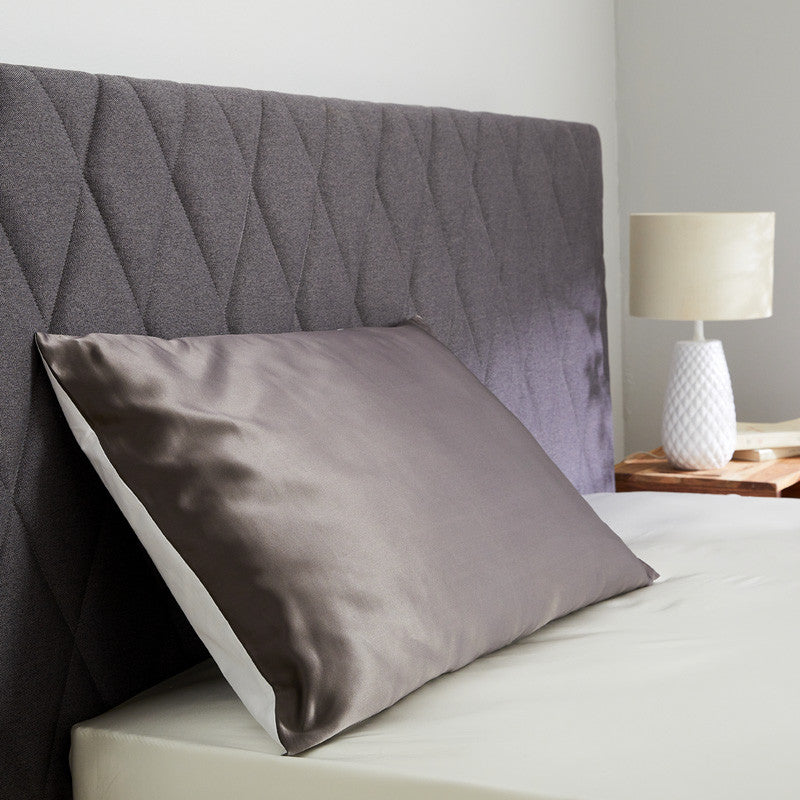
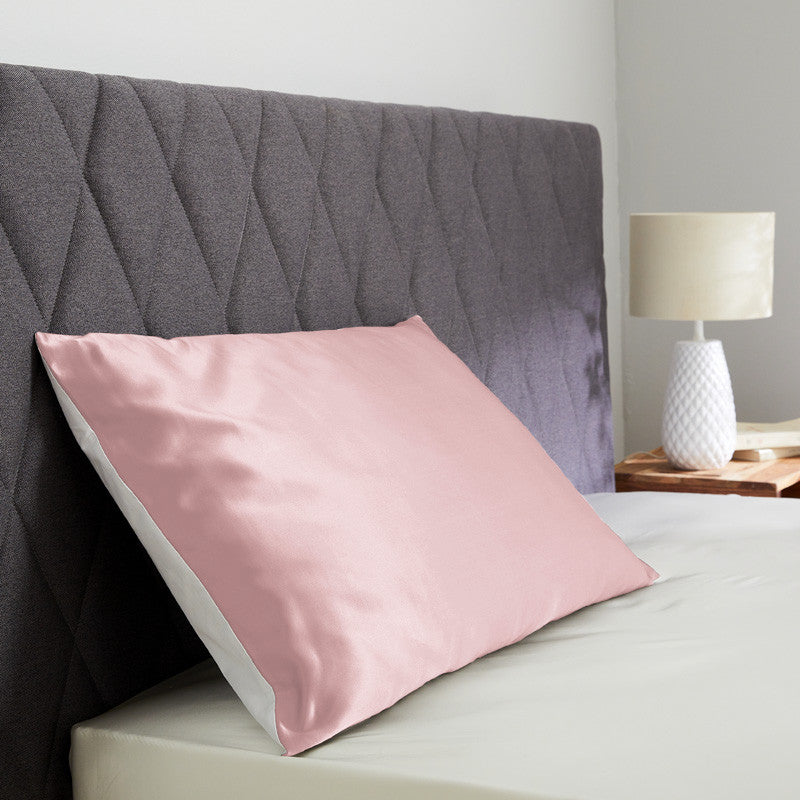
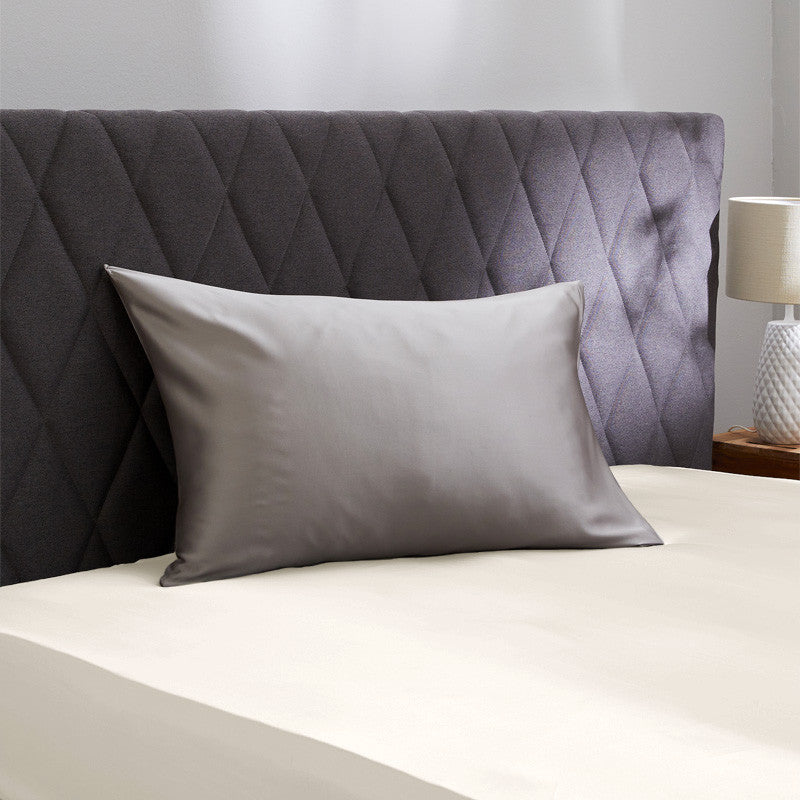
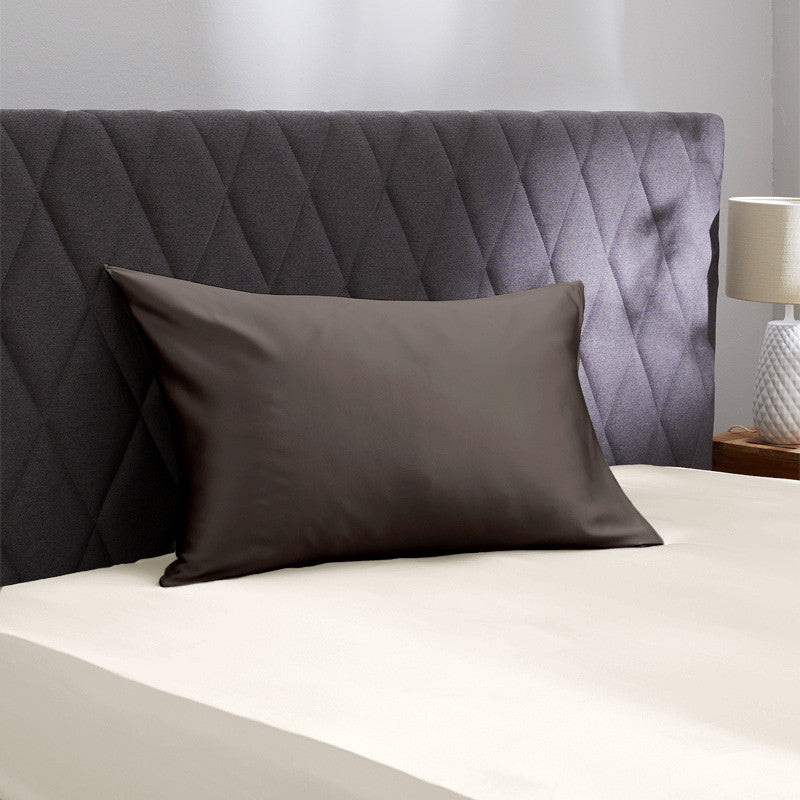
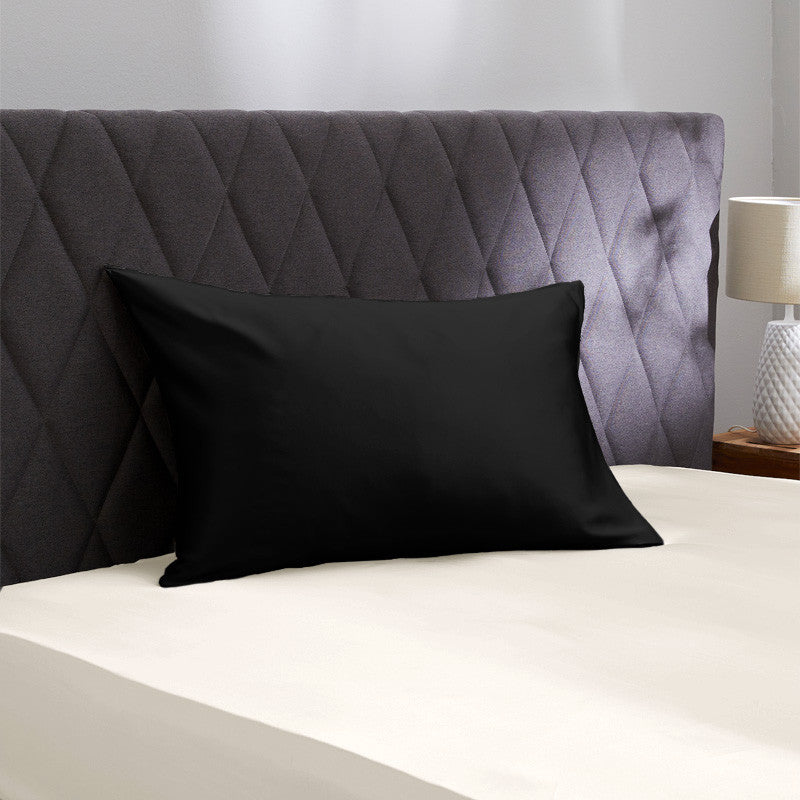
For this reason, I prefer to bring a silk-and-cotton pillowcase or a 19-momme silk pillowcase, which have the advantage of featuring a zipper. The softness of the silk provides real comfort for your face, while the zipper simply transforms the pillowcase into a camping pillow.
It’s not the most technical item in my backpack. Yet it’s so pleasant to rest your head on a clean, natural fabric that’s gentle on the skin, like silk. For me, it’s as much of a habit as bringing a silk travel sheet.


Protect Your Extremities Without Overpacking
The first few hours of the night aren’t always the coldest. The temperature often drops even further before dawn, when the body is in a deep sleep and produces less heat.
The head and hands then become particularly sensitive areas.
On chilly nights, a beanie helps you stay warm without having to add a thick layer over your entire body. It should be breathable and flexible enough to be worn for long periods without causing discomfort.
That’s exactly why I created the Silk Peak cashmere and silk beanie. Thanks to its silk lining, this beanie is super comfortable while staying warm thanks to its cashmere exterior.


For those who tend to have cold hands and feet—which is my case—I also recommend wearing silk undergloves. They can be worn on their own at night. They’re breathable, so you barely notice them, but they’re there to prevent you from waking up with your fingertips numb from the cold.
They’re especially helpful when you need to handle the stove, prepare breakfast, fold up a damp tarp, or pack up the tent in the early morning. Thick gloves offer better protection from the cold, but they make it harder to use your hands. A pair of thin silk undergloves helps you retain some of your dexterity.


Again, the point isn’t to pack extra gear for every situation. The beanie and liner gloves can be used while hiking, during breaks, at camp, and at night—or even as a supplement to a survival blanket. Accidents don’t just happen to other people, and it can sometimes be vital to stay warm while waiting for help.
Weight isn’t the whole story
Before every hike, you have to accept a simple fact: every bit of comfort comes at a weight.
The real question, then, isn’t whether an item weighs a few extra grams. You have to ask yourself what it brings to the hike and, above all, whether it will actually be used.
A very lightweight item that stays at the bottom of your pack is always too heavy.
Conversely, a pillowcase turned into a pillow every night, a travel sheet used in a mountain hut or in a tent, or a hat worn for several hours easily justify their inclusion.
I don’t necessarily aim to pack the lightest possible bag. I aim to pack a bag that’s appropriate for the planned route.
An item should serve multiple purposes or provide significant comfort to aid recovery.
Essential gear: Pack only what you really need
After a few bivouacs, you almost always end up taking more things out of your pack than you put in.
At first, it’s very tempting to plan for every possible scenario. An extra piece of clothing “just in case,” an extra cooking accessory, a second battery, a few emergency food supplies… Taken individually, each item seems reasonable. Together, they can quickly turn a comfortable backpack into a real burden.
Conversely, packing too lightly can force you to improvise when conditions change.
To avoid duplicates, I recommend thinking in terms of function.
Shelter: tent, tarp, or another solution?
To start with, a tent is generally the most reassuring option.
It creates a clearly defined space, protects against wind and rain, and provides a valuable barrier against insects. Modern models now offer excellent balances between weight, livability, and durability.
A tarp will appeal more to hikers who prioritize lightness and already have some experience in the field. It offers great flexibility in setup, but requires the ability to anticipate wind direction, rain, and water runoff.
Regardless of which option you choose, I recommend setting it up at least once before you leave.
In a backyard, on a lawn, or even in a living room if space allows.
When a storm hits or the light starts to fade, it’s not the best time to discover that a pole needs to go through a specific sleeve or that a guy line is missing.
Also take a few minutes to check the tent stakes. A model that works perfectly in loose soil can become nearly unusable on very hard or rocky ground.
Again, the best solution depends on the location.
Stove and Food: Keep It Simple
The first meal after a day of hiking always has a special flavor.
It doesn’t have to be complicated, though.
For one or two nights, a small stove, a mess kit, and a container are usually enough. Dehydrated meals are convenient, but you can just as easily put together simple meals using foods that are easy to carry.
I pay special attention to energy intake. When you’re hiking for several hours, certain foods that are particularly high in energy become much more appealing than they would be in everyday life.
In the evening, I also prefer a meal that’s easy to digest. A restless night because dinner was too heavy isn’t much more pleasant than a night disrupted by the cold.
Always carry a way to light your stove that’s separate from the one built into the unit. A simple spare lighter weighs next to nothing and can save you from having to eat cold food.
Campfires are another story. The image is appealing, but they’re prohibited in many areas and can become extremely dangerous during dry periods. I’d almost rather use my stove and leave the wood where it is.
Water requires serious planning
It’s one of the first things I check when planning a route.
Where will I find water?
A stream shown on a map isn’t necessarily flowing year-round. A known spring may have dried up after several weeks without rain. On the other hand, carrying several liters from the start makes the pack much heavier.
When the route allows, I prefer to identify several water sources and adjust the amount I carry between each one.
Crystal-clear water isn’t necessarily safe to drink. Depending on the area, the presence of animals or people upstream may be enough to contaminate it. A suitable filtration or treatment system offers additional safety, but boiling the water remains the best option.
The Three Layers: A Simple Way to Dress
Hiking clothing can quickly become complicated when you start looking through technical catalogs.
However, the three-layer principle remains an excellent foundation.
The first layer is worn close to the body. Its role is to wick away moisture produced during physical activity.
The second layer retains heat. Depending on the season, this could be a fleece, an insulated jacket, or a down jacket.
The third layer protects against the elements, particularly wind and rain.
This system makes it easy to adapt to changing conditions without having to carry multiple complete outfits.
I then add accessories depending on the season: a beanie, undergloves, a neck warmer, or thermal clothing.
The point I care about most, however, is very simple: keep at least one layer dry for camp.
Sometimes all it takes is a sudden downpour or heavy sweating during an ascent to realize the difference between slightly damp clothing and perfectly dry clothing when it’s time to go to bed.
The headlamp: the one you forget about until you need it
A headlamp seems almost unnecessary when you’re packing your backpack in the middle of the afternoon.
A few hours later, it becomes indispensable.
It’s used to set up camp, prepare dinner, find something at the back of the tent, or simply step outside at night.
I always keep it in an easily accessible pocket and check its charge before setting out.
If the hike involves multiple nights or if temperatures are low, a spare battery or extra batteries can come in handy. Cold weather can sometimes drain batteries faster than you’d expect.
Navigation and Communication: Don’t Rely Solely on Your Phone
Smartphones have made life in the mountains much easier.
Maps, GPS, weather, camera, communication: a single device now fulfills a multitude of functions.
That’s precisely why you shouldn’t rely on it entirely.
A battery can run out.
A phone can fall.
The screen can become difficult to use in heavy rain.
I always download the necessary maps before setting out so they’re available offline. On a remote or complex route, a paper map and a compass are also good safety measures—provided you know how to use them.
Above all, I let a loved one know my planned route and my estimated time of return.
This message takes less than a minute, but I know it can save a life.
Adapt your gear to the season, not the calendar
Camping in August isn’t necessarily warm.
At two or three thousand meters, a summer night can be cold, windy, and damp. Conversely, some fall days can remain surprisingly mild.
So I pack my backpack based on weather conditions and elevation rather than the season.
In the spring, the weather can change quickly, and nights remain cold. You need to take extra precautions against the cold and humidity.
In summer, you can often pack lighter, but you shouldn’t eliminate all your warm layers. A beanie or an insulated jacket remains useful whenever you’re camping at high altitudes.
Fall requires special attention to humidity and daylight hours. Camp must be set up earlier, and temperatures drop rapidly after sunset.
Winter is a different story. The cold, snow, reduced battery life, and short days require more experience and specialized gear.
What I Check Before Zipping Up My Backpack
Over the years, my checklist has gotten shorter.
But I still do a check before every trip.
For sleeping
- A tent or shelter suitable for the conditions.
- Sleeping pad and repair kit.
- Sleeping bag suitable for the expected temperatures.
- Travel sheet.
- Dry clothes to be worn only at camp.
- Pillowcase if I plan to use my down jacket or other clothing as a pillow.
- A hat and liner gloves when temperatures warrant it.
For food and drink
- Camp stove and fuel.
- Spare lighter.
- Cooking pot and utensils.
- Food supplies with a small buffer.
- Water supply.
- Filtration or water treatment system when the route requires it.
For safety
- Charged phone.
- Offline map downloaded.
- Power bank, depending on the length of your stay.
- Headlamp.
- Small first-aid kit.
- Emergency blanket.
- Whistle.
- Sunscreen.
- Waterproof jacket.
Before you leave
- Check the weather one last time.
- Check the regulations for the area.
- Check where you can refill your water.
- Send my itinerary to a loved one.
And I take a few seconds to check my pack to make sure I’m not carrying anything unnecessary.
You learn how to camp best by actually camping
You can read dozens of guidebooks, compare hundreds of pieces of gear, and pack your bag down to the last detail.
Something will always come up that you didn’t think of.
That’s normal.
Every night spent outdoors teaches you something: how your body reacts to the cold, how much water you actually need, what kind of sleeping pad you prefer, or the items you carry without ever using them.
So I recommend starting simple.
One night.
A familiar route.
Good weather.
A companion with a little experience.
Then come home, unpack your bag, and see what actually came in handy.
That’s probably the best method I know for preparing for the next camping trip.
In conclusion: learning to sleep better outdoors
Camping takes a little practice.
You can plan your route carefully, choose a good sleeping bag, and optimize your pack’s weight—and yet, once night falls, you might still discover a detail you hadn’t thought of.
That’s also what makes this activity so appealing.
Every trip allows you to fine-tune your gear, better understand your sensitivity to the cold, reassess how you pack your backpack, and gradually distinguish what’s truly useful from what isn’t.
Ultimately, this experience helps reduce the risk of unpleasant surprises and allows you to make the most of the wonderful moments a night in the mountains has to offer.
Guillaume Arbel Founder of Maison de la soie and an enthusiast of hiking, climbing, skiing, and the mountains in general
The few grams of comfort that make all the difference
When bivouacking, every item must earn its place in the backpack. Lightweight, compact, and soft against the skin, the silk travel sheet is one of those unassuming accessories you truly appreciate once night falls.
Leave a comment